Sells For Approx. $7.00 on Etsy
Here’s what you’ll need:
- 2 rectangles cut at 6 1/2″ x 8″ (can be the same fabric, or different)
- 1 piece of Heat n Bond® Fusible Fleece cut to 6 1/4″ x 7.5″
- 1 piece of velcro at least 8″ long
- coordinating thread
1. Following the instructions on the package, fuse the piece of HeatnBond® fusible fleece to the WRONG SIDE of one of the fabric rectangles. Line up the fleece so that about a 1/2″ gap is left on one end of the fabric.
If you are using two different prints, fuse the fleece to the fabric that will be on the outside of the seat belt cover (from here on out I’ll refer to the fabrics as “outside” and “inside”).
2. Layer the two fabric rectangles right sides together. Sew around three of the sides using a 1/4″ seam. DO NOT sew along the side that has the 1/2″ gap with no fleece.
3. Carefully clip the bottom two corners without cutting through the stitching.
4. Turn the cover right sides out now and carefully push out the corners to make a nice point:
5. Press along the three sewn edges:
6. On the open end, fold the fabrics to the inside about 1/2″. Use the HeatnBond® Fused Fleece as a guide.
7. Press the opening well to make a nice, crisp edge and to make sure the two edges line up.
8. Top stitch along that open end to close it up.
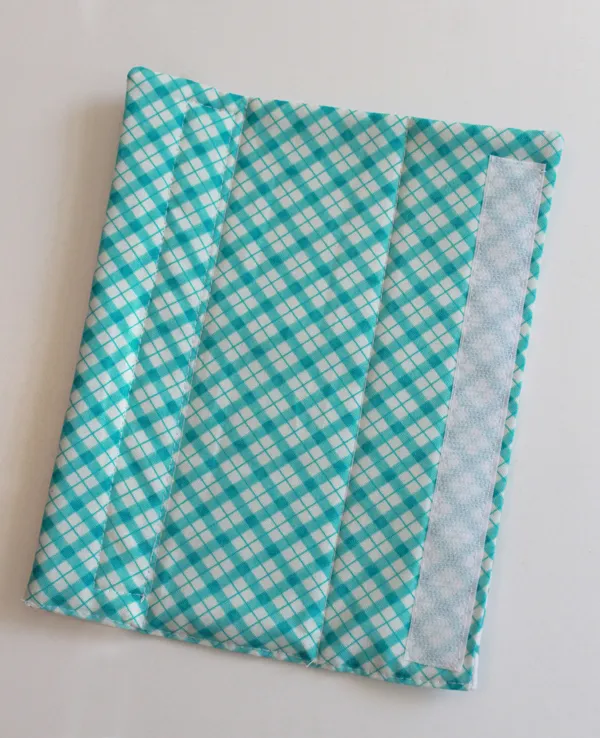
9. Using a ruler and a pencil, mark two lines on the INSIDE fabric. The first line should be 2″ in from the left edge. The second line should be 2 1/4″ to the right of the first line.
10. Using a straight stitch, sew along the two drawn lines. These sewn lines are the folding lines on the cover and will help it fold nicely around the seat belt and stay snug.
11. Measure the velcro strips and trim to be the needed length. I made mine about 1/2″ shorter than the cover. Position one of the velcro strips along the left edge of the INSIDE fabric. Sew in place.
12. Next, to check the placement of the second strip of velcro, test the cover on your seat belt.
13. Sew the second strip of velcro in place (it will go on the OUTSIDE fabric.)
Your seat belt cover is done! My kids love their covers and will now be a lot more comfortable as we travel!