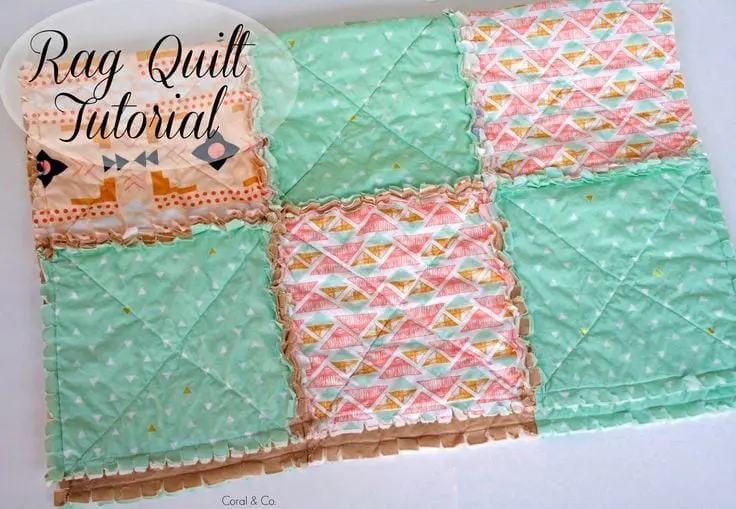
DIY Rag Quilt Tutorial is for you! It’s crazy simple and fail-free, they always come out cute and make the best gift for anyone of any age! I made a baby sized quilt with a modern touch 35×26 inches, you can add more squares and make it as big as you want.
WHAT YOU NEED:
12 – 10 inch squares of Heirloom Quilt Batting (my favorite because it puckers)
12 – 10.5 inch squares of cotton fabric for the front
12 – 10.5 inch squares of cotton fabric for the back
Pencil
Glue Stick
Self-healing Cutting Mat
Scissor
Here is the DIY Rag Quilt Tutorial:
Here are my squares!!!! I used cotton fabric in Arizona by April Rhodes.
1)Now it’s time to sandwich your squares together. I like to use stick glue on everything when I sew, it washes right out and does a great job at keeping your fabric from slipping while sewing. Glue the front to your batting square then glue the back to your batting square. You will be able to see the right side of your fabric, if you see the ugly side facing up try again. Do this to all of your squares.
*Tip – You can also use flannel for batting on rag quilt.
2) I always draw a line to make sure I’m sewing straight. Take your ruler and draw an X on all of your squares.
3) Sew right on top of your pencil lines. Sew all 12 squares together.
4) Now figure out how you want your quilt to look. Play around with your squares and put them in the order you want them in.
5) Start sewing your squares together using a 1/2 inch seam allowance. Sew them together in rows until you have 3 rows. See the picture below, you WANT the ugly seam to be on top of your quilt. Notice the seam ripper in this shot?
6) Sew your 3 rows together. It might be hard for your machine to sew through all of this fabric, it’ll make it easier if you open the seams while sewing so it ends up going through less fabric. Using a new needle will help tremendously.
7) Now sew all the way around your entire quilt using a 1/2 inch seam allowance.
8) Now for the fun part! Cut notches on all of the flipped up seams and the outer edges. Cut a notch every 1/2 inch or so. DO NOT cut into your stitches. Be careful. *
These are the BEST scissors ever! They can cut through wire.
9) Inspect your quilt for loose strings and make sure all of the flipped up seams are not bunched up.
10) Now for the best part. WASH IT!!!!!!! DRY IT!!!! And now you have your Rag Quilt made from this easy DIY Rag Quilt Tutorial!
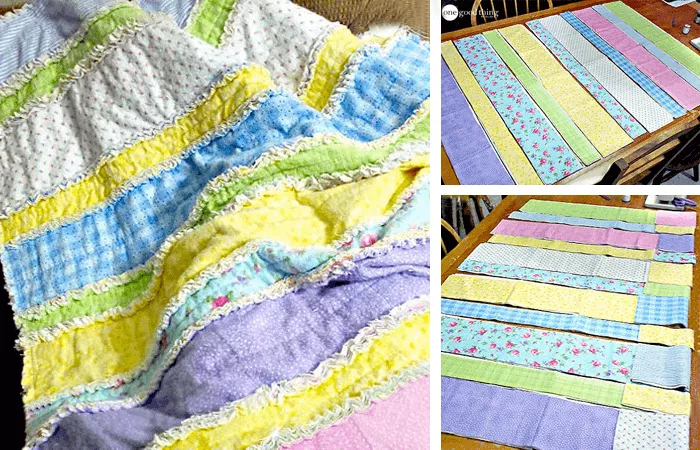
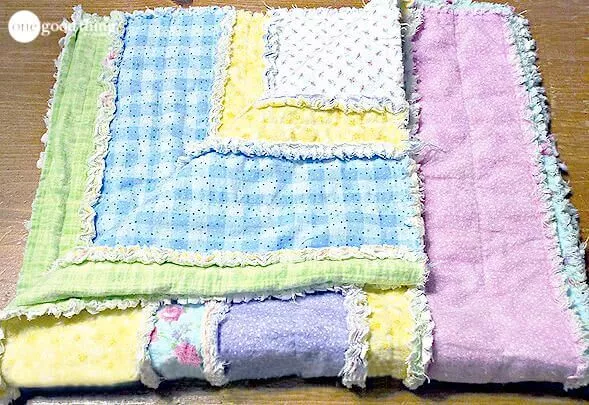
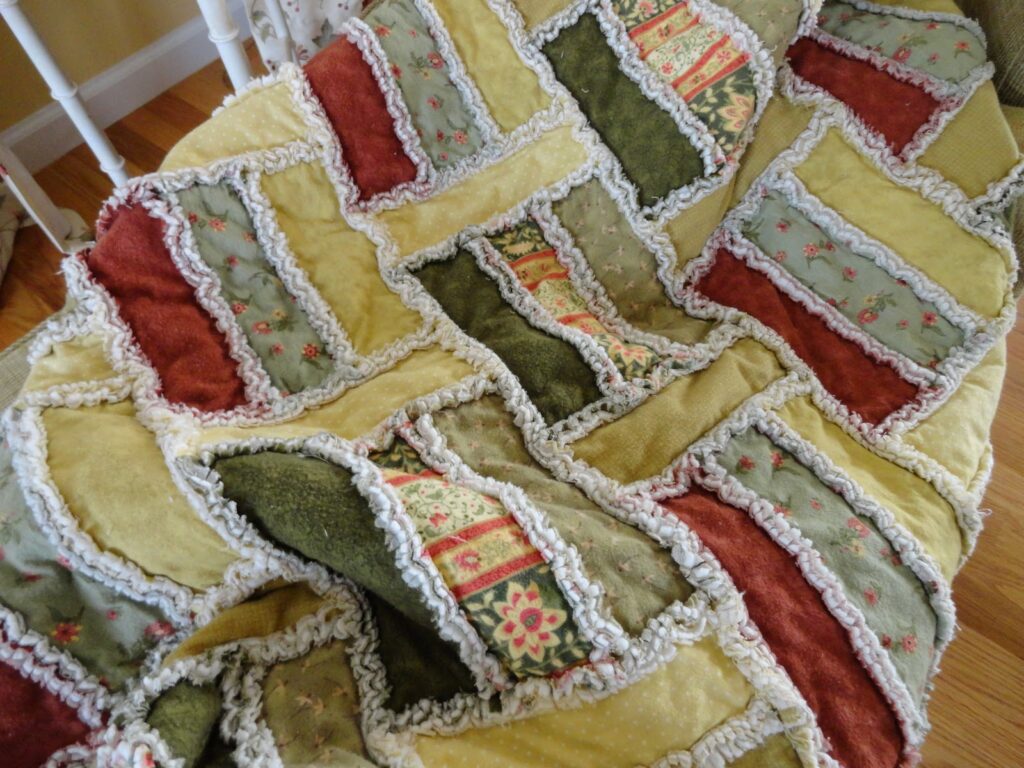
Other Quilt Ideas


